
Colour-light signals in N and H0
Mafen, SBB and European signals in N and H0
Main, distant, dwarf and combined signals of the SBB, plus those of the DB, SNCF and NS: Mafen reproduces real colour-light signalling to exact scale, in N (1:160) and H0 (1:87), and adds traffic lights, speed cameras and street lamps for the road.
- 402items in the shop
- 1:160 and 1:87for your N and H0 layouts
- Since 2008a workshop near Barcelona
What Mafen brings to your layout
- Swiss signalling: main, distant, block, dwarf and combined SBB signals, in N as well as H0.
- SBB signals in Fine Scale: 3D-printed signal head, mast, ladder and railings in photo-etched brass, SMD LEDs. Resistors are included for connection at up to 16 V DC.
- All of Europe, and the street: DB, DR, ÖBB, SNCF, SNCB, NS and DSB, plus traffic lights, tram signals, speed cameras and street lamps.
- A workshop near Barcelona: founded in 2008 by two railway modellers, Mafen makes short runs, assembled by hand in Martorell. Every electrical item is tested.
Our favourites for a Swiss layout

SBB combined signal, H0 scale. A single mast carries two screens: an upright rectangular screen at the top with three stacked hooded lenses and a flat light-coloured bracket to its right, and below it a square screen with a vertical central rib and four hooded lenses. The silver-grey lattice mast with step irons stands, with a small box at its foot, on a white rectangular base plate. The lenses are unlit in both photographs.
In stock: 3 on the shelf, shipped within 1-3 days

SBB main signal, H0 scale. The black screen with a light-coloured border and cut corners carries two stacked hooded lenses; a flat light-coloured bracket is fixed to its right. The silver-grey lattice mast has step irons along one side and stands, with a small box at its foot, on a white rectangular base plate. The lenses are unlit in both photographs.
In stock: 4 on the shelf, shipped within 1-3 days

SBB block signal, H0 scale. The square black screen with a light-coloured border carries four hooded lenses: three in the upper row and one below. Above it is a small upright white plate with a black border and a single round lens. The silver-grey lattice mast with step irons stands, with a small box at its foot, on a white rectangular base plate; the lenses are unlit in both photographs.
In stock: 2 on the shelf, shipped within 1-3 days

SBB dwarf signal in H0 scale. The black trapezoidal head carries three lenses, one at the upper left and two below; the glasses are clear and unlit in the photograph. The head is carried on a short bare-metal post pierced with a row of holes. The base is light grey and pyramid-shaped.
In stock, shipped within 1-3 days
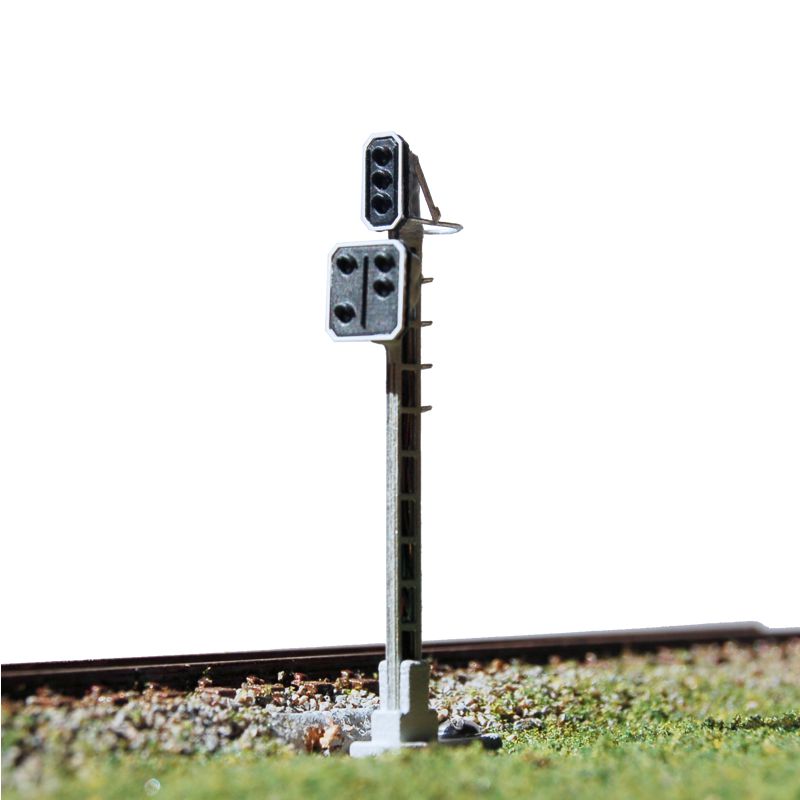
SBB combined signal 4136.02 + 4136.10 in N scale. A single mast carries two heads with white surrounds: an upper narrow, tall head with three optics stacked vertically, and below it a square head divided by a vertical black rib with four optics spread on either side. Between the two heads the openwork mast carries a platform railing on its right; it is set in a white base. The model in the photograph is not lit.
In stock: 5 on the shelf, shipped within 1-3 days

SBB main signal with five LEDs (green/red/yellow/green/yellow), N scale. The black signal head with chamfered corners and a light-coloured rim carries five stacked optics. It is mounted on a light-grey openwork mast with a full-height ladder, standing on a pale rectangular base; a small platform with a curved railing is fitted at head height and the coloured connecting wires are visible inside the mast. The photograph shows the unlit model on a diorama beside the track.
In stock: 5 on the shelf, shipped within 1-3 days

SBB distant signal in N scale with four LEDs (yellow/green+yellow/green). The square signal head with chamfered corners and a white surround is divided by a vertical black rib; four staggered optics are spread on either side of it, each showing a pale blue LED lens inside. The head sits on an openwork mast with short side rungs, set in a white base. The model in the photograph is not lit.
In stock: 5 on the shelf, shipped within 1-3 days

SBB dwarf signal in N scale. The one-piece model, in a uniform dark grey, combines a short mast on a rectangular footplate with an angled head pierced by three lens openings: one at the top, two below. The manufacturer's designation states three white LEDs; in the photograph, taken in situ in the ballast beside the rail, the lenses are unlit.
In stock: 5 on the shelf, shipped within 1-3 days
The Mafen families
For your H0 layout (1:87)
40 itemsSwiss signals H0Main, distant, block, dwarf and combined SBB signals.See the items 59 itemsEuropean signals H0Signals of the DB, SNCF and NS.See the items
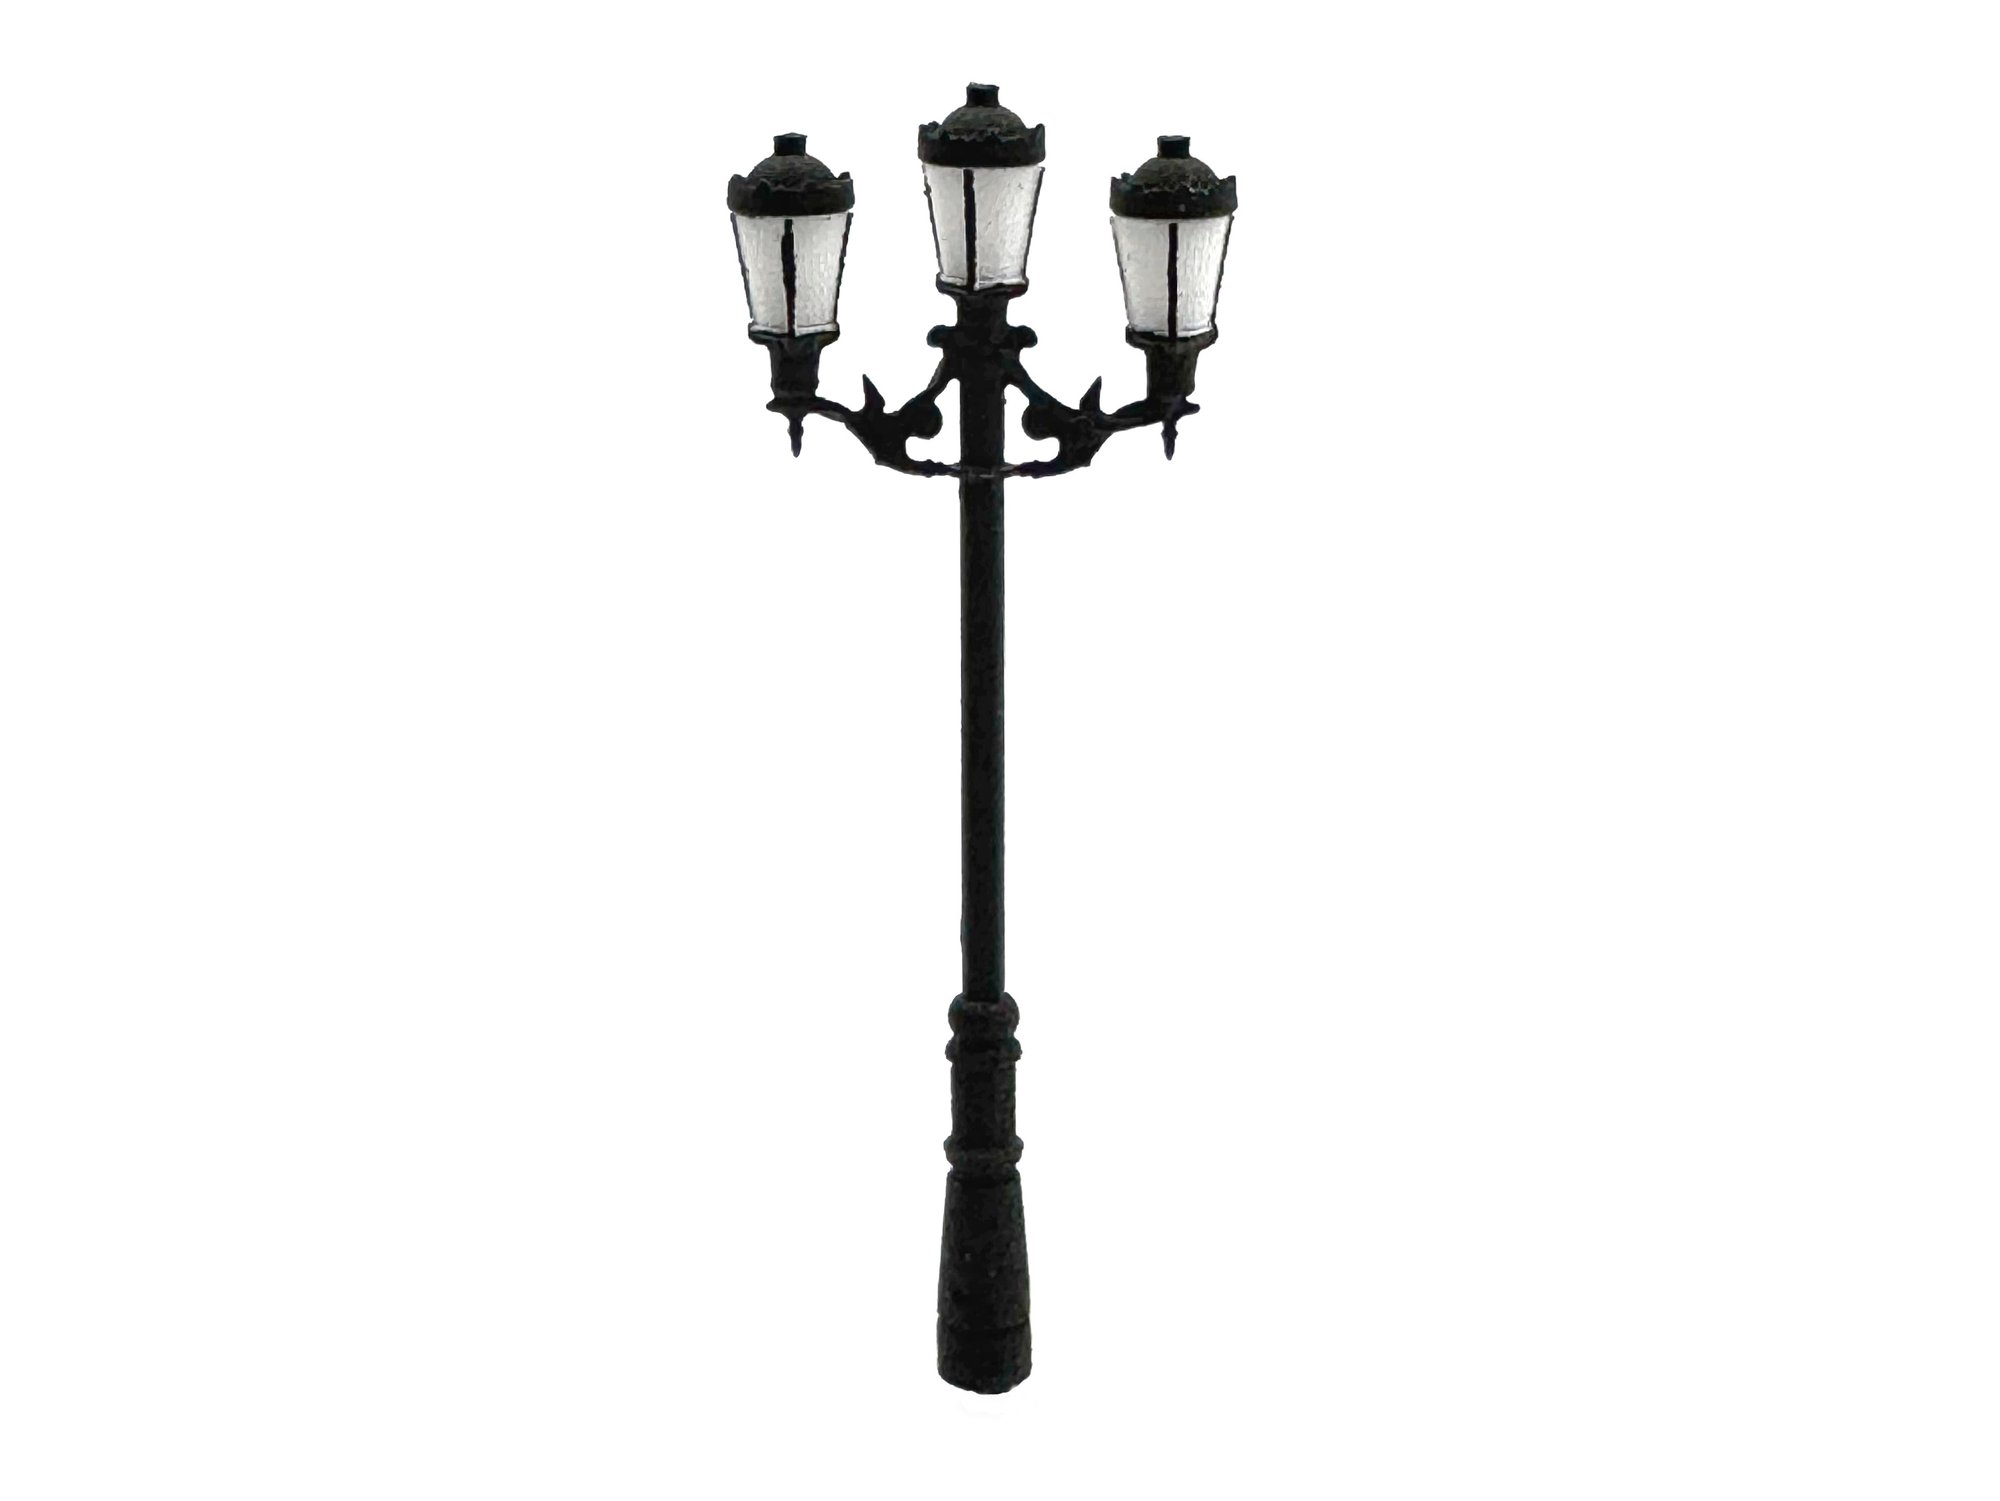
 20 itemsStreet lights and details H0Traffic lights, tram signals, speed cameras and Swiss level crossing lights.See the items
For your N layout (1:160)
All Mafen items

SBB main signal, H0 scale. The black screen with a light-coloured border carries five stacked hooded lenses in a single column; a light-coloured railed frame is fixed to its right. The silver-grey lattice mast with step irons stands, with a small box at its foot, on a white rectangular base plate. The lenses are unlit in both photographs.
On order, lead time to be confirmed

SBB main signal, H0 scale. The wide black screen with a light-coloured border carries five hooded lenses: four in a left-hand column and the fifth offset to the right. A light-coloured railed frame is fixed to its right; the silver-grey lattice mast with step irons stands, with a small box at its foot, on a white base plate. The lenses are unlit in both photographs.
On order, lead time to be confirmed

SBB main signal, H0 scale. The wide black screen with a light-coloured border carries its hooded lenses in two groups: a left-hand column and two lenses offset to the right. A light-coloured railed frame is fixed to its right; the silver-grey lattice mast with step irons stands, with a small box at its foot, on a white base plate. The lenses are unlit in both photographs.
On order, lead time to be confirmed

SBB main signal, H0 scale. The wide black screen with a light-coloured border carries six hooded lenses: five in a left-hand column and the sixth offset to the right. A light-coloured railed frame is fixed to its right; the silver-grey lattice mast with step irons stands, with a small box at its foot, on a white rectangular base plate. The lenses are unlit in both photographs.
On order, lead time to be confirmed

SBB main signal, H0 scale. The wide black screen with a light-coloured border carries its hooded lenses in two groups: a left-hand column and two lenses offset to the right. A light-coloured railed frame is fixed to its right; the silver-grey lattice mast with step irons stands, with a small box at its foot, on a white rectangular base plate. The lenses are unlit in both photographs.
On order, lead time to be confirmed

SBB block signal, H0 scale. The square black screen with a light-coloured border carries its hooded lenses in an upper row of three and, below, a stacked group. Above the screen is a small upright white plate with a black border and a single round lens. The silver-grey lattice mast with step irons stands, with a small box at its foot, on a white rectangular base plate; the lenses are unlit in both photographs.
On order, lead time to be confirmed

SBB block signal, H0 scale. The square black screen with a light-coloured border carries five hooded lenses: three in the upper row and two stacked below. Above the screen is a small upright white plate with a black border and a single round lens. The silver-grey lattice mast with step irons stands, with a small box at its foot, on a white rectangular base plate; the lenses are unlit in both photographs.
On order, lead time to be confirmed

SBB block signal, H0 scale. The square black screen with a light-coloured border carries six hooded lenses: three in the upper row, two in the middle row and one at the lower left. Above the screen is a small upright white plate with a black border and a single round lens. The silver-grey lattice mast with step irons stands, with a small box at its foot, on a white rectangular base plate; the lenses are unlit in both photographs.
On order, lead time to be confirmed

SBB block signal, H0 scale. The square black screen with a light-coloured border carries seven hooded lenses in three rows: three at the top, two in the middle and two at the bottom. Above the screen is a small upright white plate with a black border and a single round lens. The silver-grey lattice mast with step irons stands, with a small box at its foot, on a white rectangular base plate; the lenses are unlit in both photographs.
On order, lead time to be confirmed

SBB block signal, H0 scale. The upright rectangular black screen with a light-coloured border carries seven hooded lenses: three in the upper row and four stacked on the centre line. Above the screen is a small upright white plate with a black border and a single round lens. The silver-grey lattice mast with step irons stands, with a small box at its foot, on a white rectangular base plate; the lenses are unlit in both photographs.
On order, lead time to be confirmed

SBB combined light signal 9136.04 + 9136.11 in H0 scale, supplied assembled. The upper vertical head carries four light points in a single row; the lower square head carries four more, set on either side of a vertical rib. The signal stands on a grey lattice mast with a rectangular base plate; a wire handrail is fitted beside the upper head and the coloured connecting wires come out at the foot of the mast.
On order, lead time to be confirmed

SBB combined light signal 9136.05 + 9136.11 in H0 scale, supplied assembled. The upper head carries five light points in a vertical row, the lower square head four light points on either side of a vertical rib. The signal stands on a grey lattice mast with a rectangular base plate; a wire handrail sits beside the upper head and the coloured connecting wires run down the mast.
On order, lead time to be confirmed

SBB combined light signal 9136.06 + 9136.12 in H0 scale, supplied assembled. The upper head carries five light points in a vertical row, the lower square head five light points on either side of a vertical rib. The grey lattice mast stands on a rectangular base plate; a wire handrail is fitted beside the upper head and the coloured connecting wires exit at the foot of the mast.
On order, lead time to be confirmed

SBB combined light signal 9136.07 + 9136.12 in H0 scale, supplied assembled. The wider upper head carries four light points in a column plus a fifth offset to the side; the lower square head carries five light points on either side of a vertical rib. The signal stands on a grey lattice mast with a rectangular base plate; a wire handrail is fitted beside the upper head and the coloured connecting wires run down the mast.
On order, lead time to be confirmed

SBB combined light signal 9136.08 + 9136.12 in H0 scale, supplied assembled. The upper head carries four light points in a column plus two offset to the side, the lower square head five light points on either side of a vertical rib. The grey lattice mast stands on a rectangular base plate; a wire handrail sits beside the upper head and the coloured connecting wires exit at the foot of the mast.
On order, lead time to be confirmed

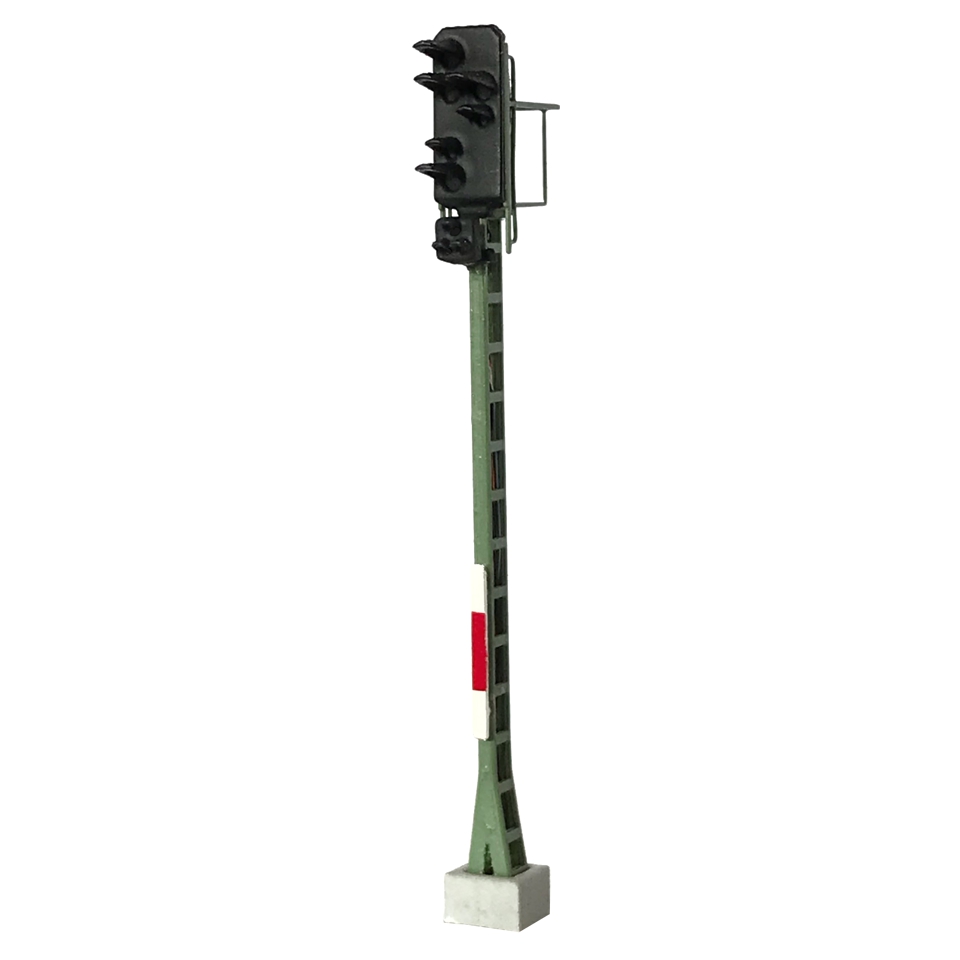
SBB combined light signal 9136.09 + 9136.12 in H0 scale, supplied assembled. The upper head carries five light points in a column plus a sixth offset to the side, the lower square head five light points on either side of a vertical rib. The signal stands on a grey lattice mast with a rectangular base plate; a wire handrail is fitted beside the upper head and the coloured connecting wires run down the mast.
On order, lead time to be confirmed

SBB combined light signal 9136.10 + 9136.12 in H0 scale, supplied assembled. The upper head carries five light points in a column plus two offset to the side, the lower square head five light points on either side of a vertical rib. The grey lattice mast stands on a rectangular base plate; a wire handrail sits beside the upper head and the coloured connecting wires exit at the foot of the mast.
On order, lead time to be confirmed

SBB auxiliary signal "-- /" in H0 scale. The close-up shows a small black-lined head carrying pale light points arranged in a horizontal row and in a diagonal line running down to the left. The overall view shows the box mounted on the mast below the main heads, with mast and main heads faded out in white.
On order, lead time to be confirmed

SBB auxiliary signal (white+green) in H0 scale. The small head carries two light points set diagonally; the overall view shows the box mounted on the mast below the main heads, with mast and main heads faded out in white. Fine connecting wires can be seen under the box; the light points are unlit in the photographs.
On order, lead time to be confirmed

SBB auxiliary signal "+ /" in H0 scale. The close-up shows a small head with a black shield whose openings form a cross on the left and a diagonal line on the right. The overall view shows the box on the mast below the main heads, with mast and main heads faded out in white; the light points are unlit.
On order, lead time to be confirmed

SBB main signal in H0 scale with three lights (red, yellow, green). The schematic drawing shows a black square head marked with a white circle; inside, the three light points sit under a hood, red at the top with yellow and green below. The head is mounted on a round grey mast, with a ladder frame drawn beneath it.
On order, lead time to be confirmed

SBB main signal in H0 scale with three lights (red, yellow, green) and notice board. The schematic drawing shows the black square head with its white circle and three hooded light points, and above it a black board carrying a large white diamond. The assembly is mounted on a round grey mast, with a ladder frame drawn beneath the head.
On order, lead time to be confirmed

SBB distant signal in H0 scale with two lights (yellow, green). The schematic drawing shows a white-framed head on a black ground; the two light points sit side by side under a hood, yellow on the left and green on the right. A black band runs below the head, which is mounted on a round grey mast with a ladder frame.
On order, lead time to be confirmed

SBB distant signal in H0 scale with two lights (yellow, green) and notice board. The schematic drawing shows the white-framed head with its two side-by-side light points under a hood, yellow on the left and green on the right, topped by a black board carrying a large white diamond. The assembly is mounted on a round grey mast with a ladder frame.
On order, lead time to be confirmed